Saturday, July 20, 2013

RESPONSIVE CLASSROOM: Rules in School

Responsive Classroom is used throughout our school. It's such a positive thing to have the entire school on the same page. It shows consistency for the students, and students are aware of the consequences (although those may vary slightly from room to room...) are the same throughout the school. One thing that we do at the very first day/week of school is determine our hopes and dreams for that school year.


We color in our little people to show that we are all different but we can all work together to achieve our dreams. For my class, this past year, we put our hopes and dreams on hot air balloons, then drew ourselves in the basket. Then each student shared their H&D to the class. A
s they presented, I wrote down their dreams on a piece of poster paper as an easy reference guide.


 I did this Hopes and Dreams project with my Drama Club. The poster read "Our Hopes and Dreams for Becoming Stars in Drama Club!" Each student drew themselves in the box and wrote their dreams for Drama Club on the lines below.

After students have decided on their goals for the year, we present our hopes and dreams to the class. Now we discuss, "How can we all achieve these hopes and dreams? Will we do it alone? Etc.."
What we get from that are rules that we all must abide by if we want to achieve our dreams and help others achieve theirs.

When the class started veering from their normally great behavior, we would look at the rules and talk about why we chose them. Usually after a class discussion, things would get better.  If things got really out of hand, we took the time and went back through all of their hopes and dreams, checked if they had  achieved them yet, checked if continuing with the current (bad) behaviors would help them achieve their dreams, or not... and then took it from there. At one point, it must have already been March or April, most of the students had in fact achieved their hopes, so we created new goals to try and reach by the end of the year. I kept up their old ones and added their new ones to it.

It's a great tool and reference to be able to turn to and it gives the kids a feeling of ownership over their class as well as a sense of purpose and direction to start the year off.

Do you have a classroom management plan that you swear by? I would love to hear it. Often times, we take a little from here and a little from there to achieve the perfect... well, the perfect ANYTHING! So share your ideas, and perhaps, we will create the most perfect classroom management plan!

POSTER POCKETS Organize your posters

There was a lot of stuff in my classroom when I moved in. That can be a curse and a blessing. That means that I don't have to spend money on a lot of things new teachers need to get and I know that if the other teachers in the school have it, I probably have it somewhere, too.
That's where the problem is...SOMEWHERE in my room are a million things that I don't even know I have! So... "Just throw it all out," you say? Oh, I wish I could... but I didn't know what I needed to keep and what I could dump.  After 2 years, I'm starting to figure out what I use most often (the problem is... I keep trying new things!!!!) and I can start getting rid of some things.....
SO...

Here is my big-yellow-rolly-cart that holds all of my posters, borders, and such things... Does anyone have a better name for this?!
ANYWAY!!!!!................ There are very thin drawers to hold all of the posters and borders you can imagine! It is very nice storage with tons of space. This is one of those things I'm very glad that I have inherited. Inside were a million posters all jumbled into one giant mess. I don't think I actually opened it up my first year because it was impossible to find anything. So... last summer, one of my projects was to organize that sucker!

I took EVERYTHING out (Oofda! There was a lot!), and sorted them into piles. While I was doing that I came across some giant sheets of poster paper! So working with what I had, I folded the poster paper nearly in half but with about 3 inches left up top to Label the new POSTER POCKET according to which posters went in. Then I stapled up the sides.


Then I took pictures of each bunch so that I could tape them to the front of the POSTER POCKET and see what was inside each pocket. 


When it came time for the borders, I lay the poster paper the long way and accordion folded it until it made about 3 sections to hold borders. I stapled up the sides, trimmed down the borders, and voila! I've got my own border control!  I do not have a picture at this time, but I will post it when I do!
Finally, I designated each drawer to specific POSTER POCKETS: borders in the top drawer, social studies and science in the next drawer, reading/language arts in the third, etc...

It is so much easier to find what I'm looking for now! And I also know what I have in the drawers, which is a huge step from before I started the project!

How do you organize your posters and borders?

Before pictures... WAY before pictures, and eventually... AFTER PIctures...


 I'm not sure if you know... but I inherited many things in my classroom from the previous teacher, so I did not have much room for my own things!
 This is what my room was like at the end of my first year! I look at all of these other beautifully organized and decorated rooms on all of these other beautifully organized and decorated blogs and I knew I had a long was to go before I could even think of decorating! I needed ORGANIZATION first! I need to get rid of things and tone things down a bit!!! SO..........


Here are pictures of what I started my room like at the beginning of the year LAST year (2012-13) I did move a few things around by the end of the school year, but it got so hectic that I didn't have time to take pictures of that. I'm so excited for what I have planned for this year that I can barely contain it. The pictures up top are like pre-before pictures... the pictures following are the before pictures and hopefully soon, we will have some after pictures.


 I have a fairly small room and I have one wall that is entirely shelving with no doors....
(I put velcro on the top of the shelving and then sewed it on to some sheets to work as fast acting doors. This is my project I'm working on this summer!)


And one wall that is entirely cupboards.
Then I have one wall that is dividing my room with another room. You can't nail or tape anything to the wall because of its texture, but its all magnetic, so that's a plus. Then the last wall houses my SMARTBoard and It's the only wall that has white boards and bulletin boards. My first year, I actually didn't have a white board, but apparently someone was going to get rid of one and I joinked that up in a  hurry!

Now, in the past, I really don't think that I have utilized this space with the full potential that it really has, when I got placed in this room, it was left with all of the previous teacher's acquirements from the last umpteen years so I spent the whole first year trying to clean out some of the piles... What you see now may look plain, dull and empty, but to me... it was heaven. I actually had room for some of my things and to start getting ideas for what I wanted to do to the room! So now, I am excited to start experimenting with it this year!


This was my listening station...


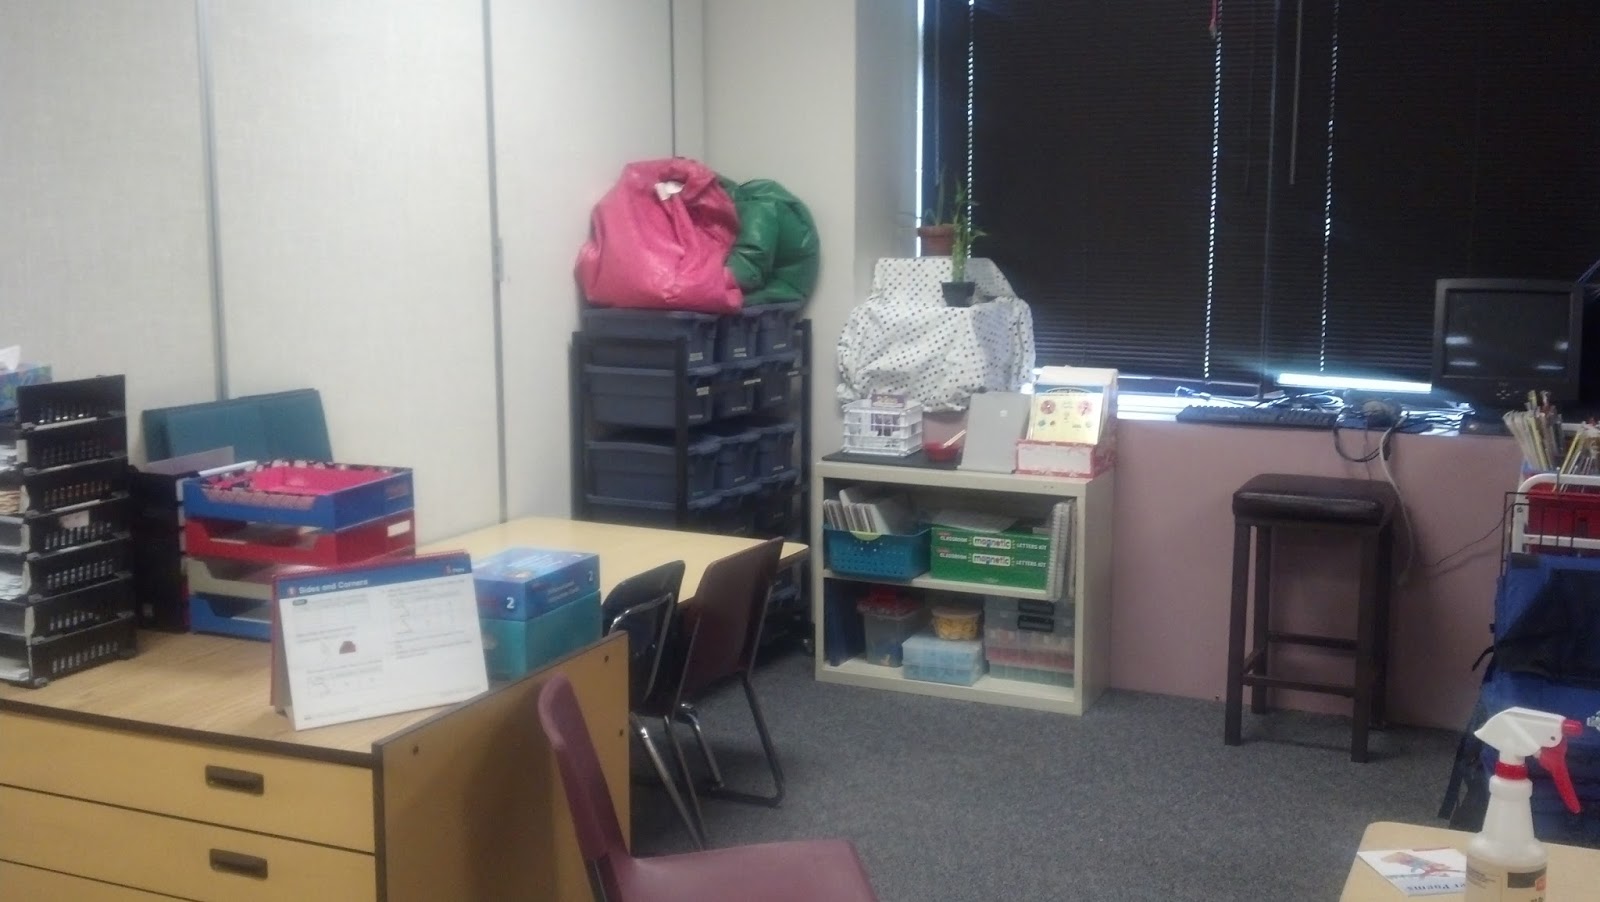
And my small group area. I got rid of my desk this past year (and I really don't miss it) so this was "my" space. Again... I know that I could better organize my back shelf to be more efficient (and a bit cuter, too)!!!


This corner had my Word Work shelf, manipulatives, and a writing or work table for the students


View of the front of the room from the back.. OH! How boring!!!


View from my door (pretty bare!)


And here is my classroom library:
It's too crammed... I want to fix it up this year to be more accommodating. If you have any advice... please, share!!!


The cart on the right held non-fiction books in different categories, the cart on the left held A.R. leveled  fiction books. The red boxes were 2.0-2.9, the blue were anything below 2.0, the green box was 3.0-3.9 and the yellow boxes on the bottom were 4.0 or higher and were off limits for most of the year. On some of the shelving, I had categorized books. I just used the post-it labels to label them. They stuck all year and still come off like a post-it promises! There were many other book boxes, but apparently I only wanted to take a picture of a couple!

Alright.... To show some more after pictures!

I decided this year to try and keep my Library open so I could fit the whole class in it for stories. I put my CAFE board and Daily 5 board back there to reference easily while we are reading.


I moved my Small Group Table over by the computers. It seemed to have more space this year.


I found these cute baskets on clearance at JoAnn's.


My Hopes and Dreams Board. I made my file cabinets into mini bulletin boards with plastic table cloth and bulletin board border. 

The room continually changes and it will probably forever. Each year I like it a little more!